Surprisingly, there's one last post to go after this one. Rather than hit everyone with an ad to buy the pdf straight away, I thought I'd put up these photos of how I put together the book before I gave it to Isaac. So, here's how it worked -
Opening the package from Phil (Diamond Geezer) of Swiss Valley Print.
Folding each spread at the halfway point.
Making sure all the pages are in the right order by comparing them to the mini prototype I made earlier.
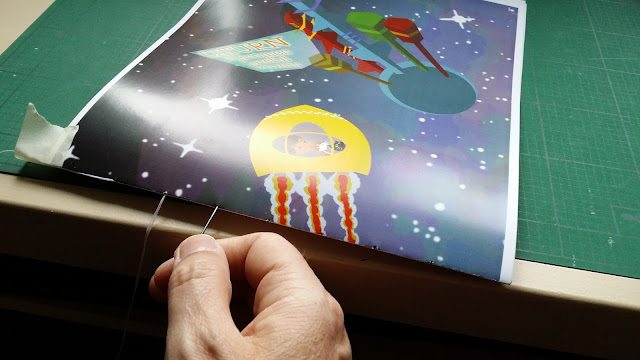
Marking the holes ready for sewing.
Making the holes with a bradawl, also ready for sewing.
Sewing the pages into signatures and the signatures together.
Pressing the signatures in the book press I made earlier and applying a coat of glue every half an hour (5 coats in all).
Making the spine for the text block.
Sticking the endpapers to the signatures.
Trimming the text block to size.
The finished text block.
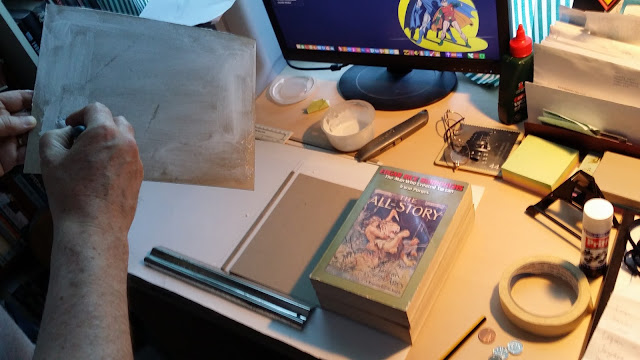
Sticking the book boards to the canvas cover image. (Using canvas idea courtesy of Phil).
Using my favourite (and heaviest) books as weights to keep the boards and cover image flat while they dry.
Pressing the finished book.
Ironing each page (both sides) at five thirty the next morning because they're quite wrinkled after my (probably) not having tightened the screws on the press enough.
I hope you enjoyed these 'behind the scenes' pictures.
Details next week of how to buy the pdf.
See you next Monday.
JJ
Over and Out


1 comment
Very interesting and skilled process.
Post a Comment